In this tutorial, I will guide you through the steps to fix the logo size in the Shopify Debut Theme. This is a common issue many users face, but it can be resolved easily with the right approach. Follow the steps below for a clear and professional-looking logo on your Shopify store.
Table of Contents
- Step 1: Access the Theme Customization
- Step 2: Adjust the Logo Width
- Step 3: Crop the Logo Image
- Step 4: Upload the Cropped Logo
- Step 5: Adjust the Width Again
- Step 6: Handling Different Logo Orientations
- Conclusion
Step 1: Access the Theme Customize Section
First, navigate to your Shopify admin and access the Theme “Customize” section. This is where you can make adjustments to the appearance of your store, including the logo size.
- Go to the Shopify admin panel
- Click the “Customize” button next your live theme

Step 2: Adjust the Logo Width
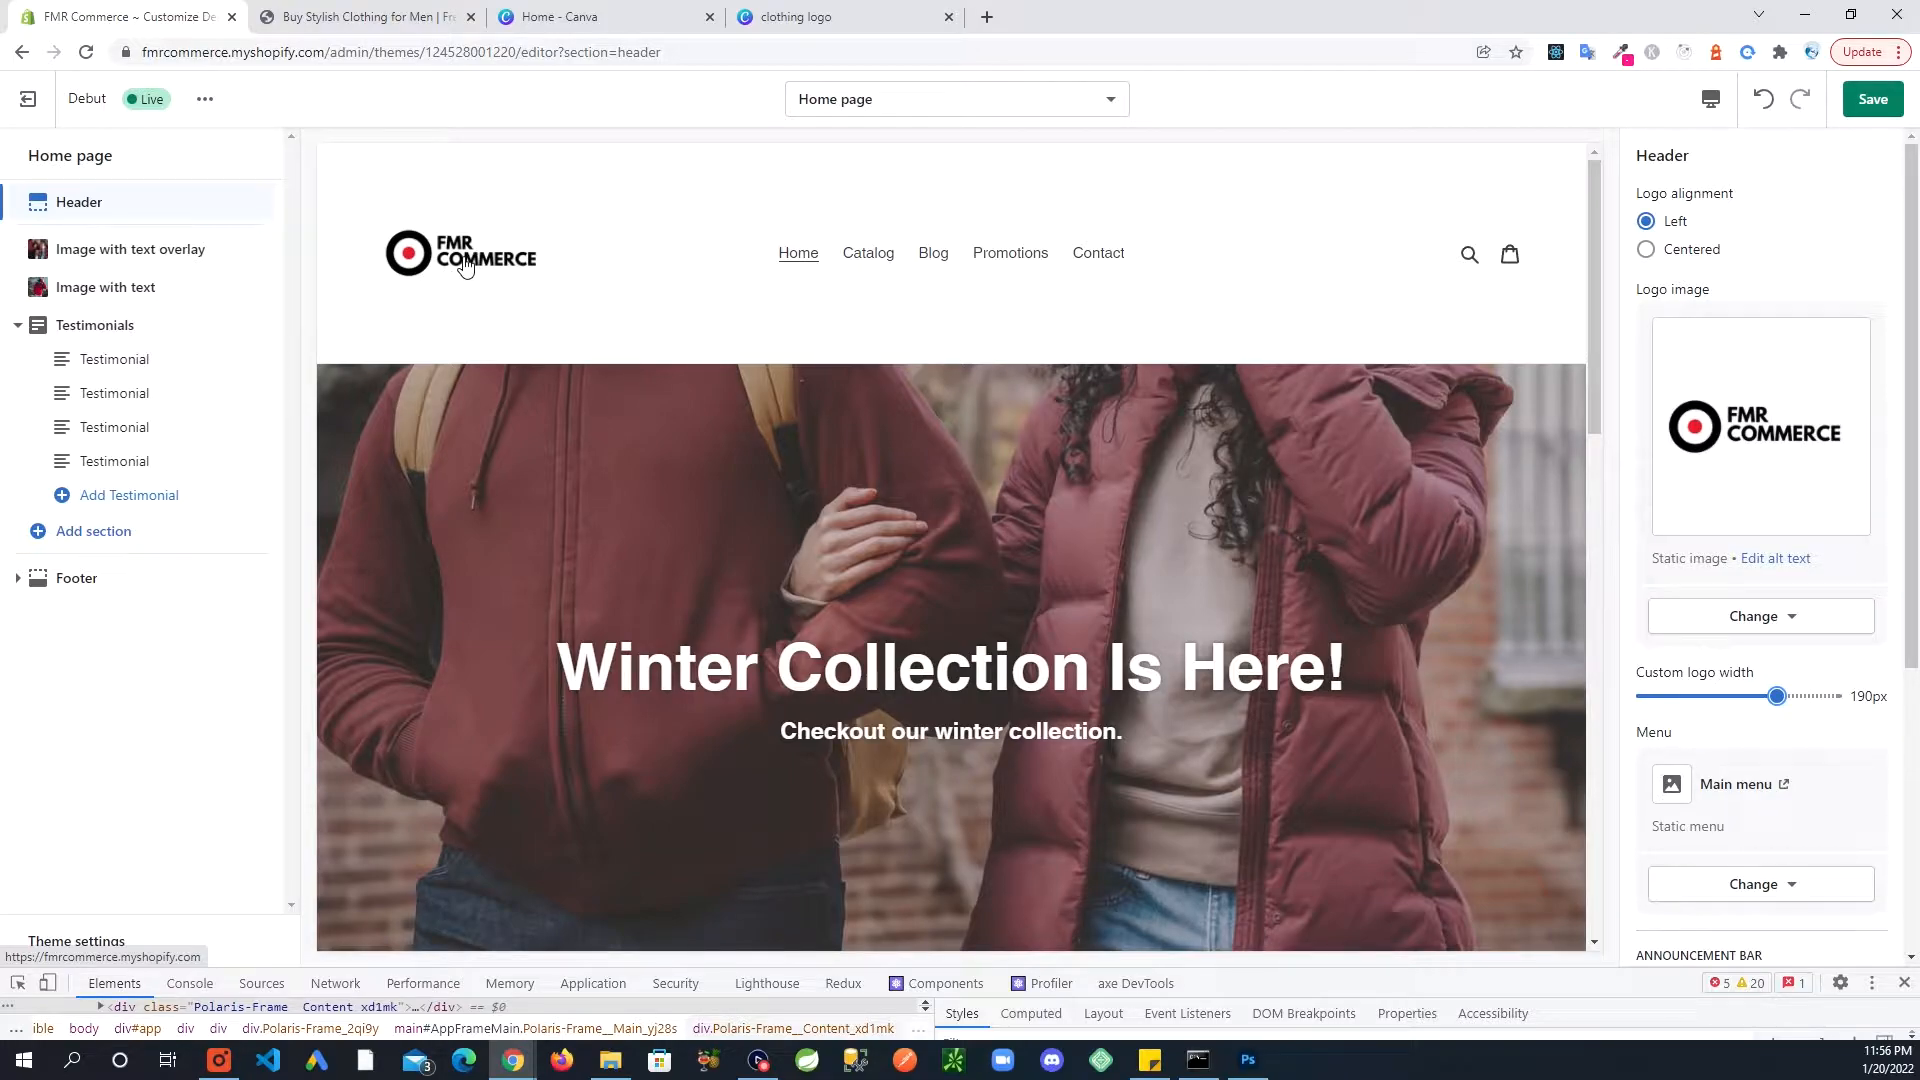
Within the theme customization, go to the “Header” section where you had initially uploaded your logo. Here, you will find a width adjustment bar that allows you to change the logo size.
- Go to the “Header” section
- Find the width adjustment bar
- Adjust the width to your preference
Note that adjusting the width might not always give you the desired result if your logo has extra space around it. This leads us to the next step.
Step 3: Crop the Logo Image
If your logo file has extra space around it, you need to crop it to remove the excess. This can be done easily using built-in tools on your computer.

For Windows Users:
- Open the logo image
- Use “Edit with Photos”
- Drag the corners to crop the image
- Save a copy with a new name
For Mac Users:
- Open the logo image in Preview
- Select the crop tool
- Drag the corners to crop the image
- Save a copy with a new name
Step 4: Upload the Cropped Logo
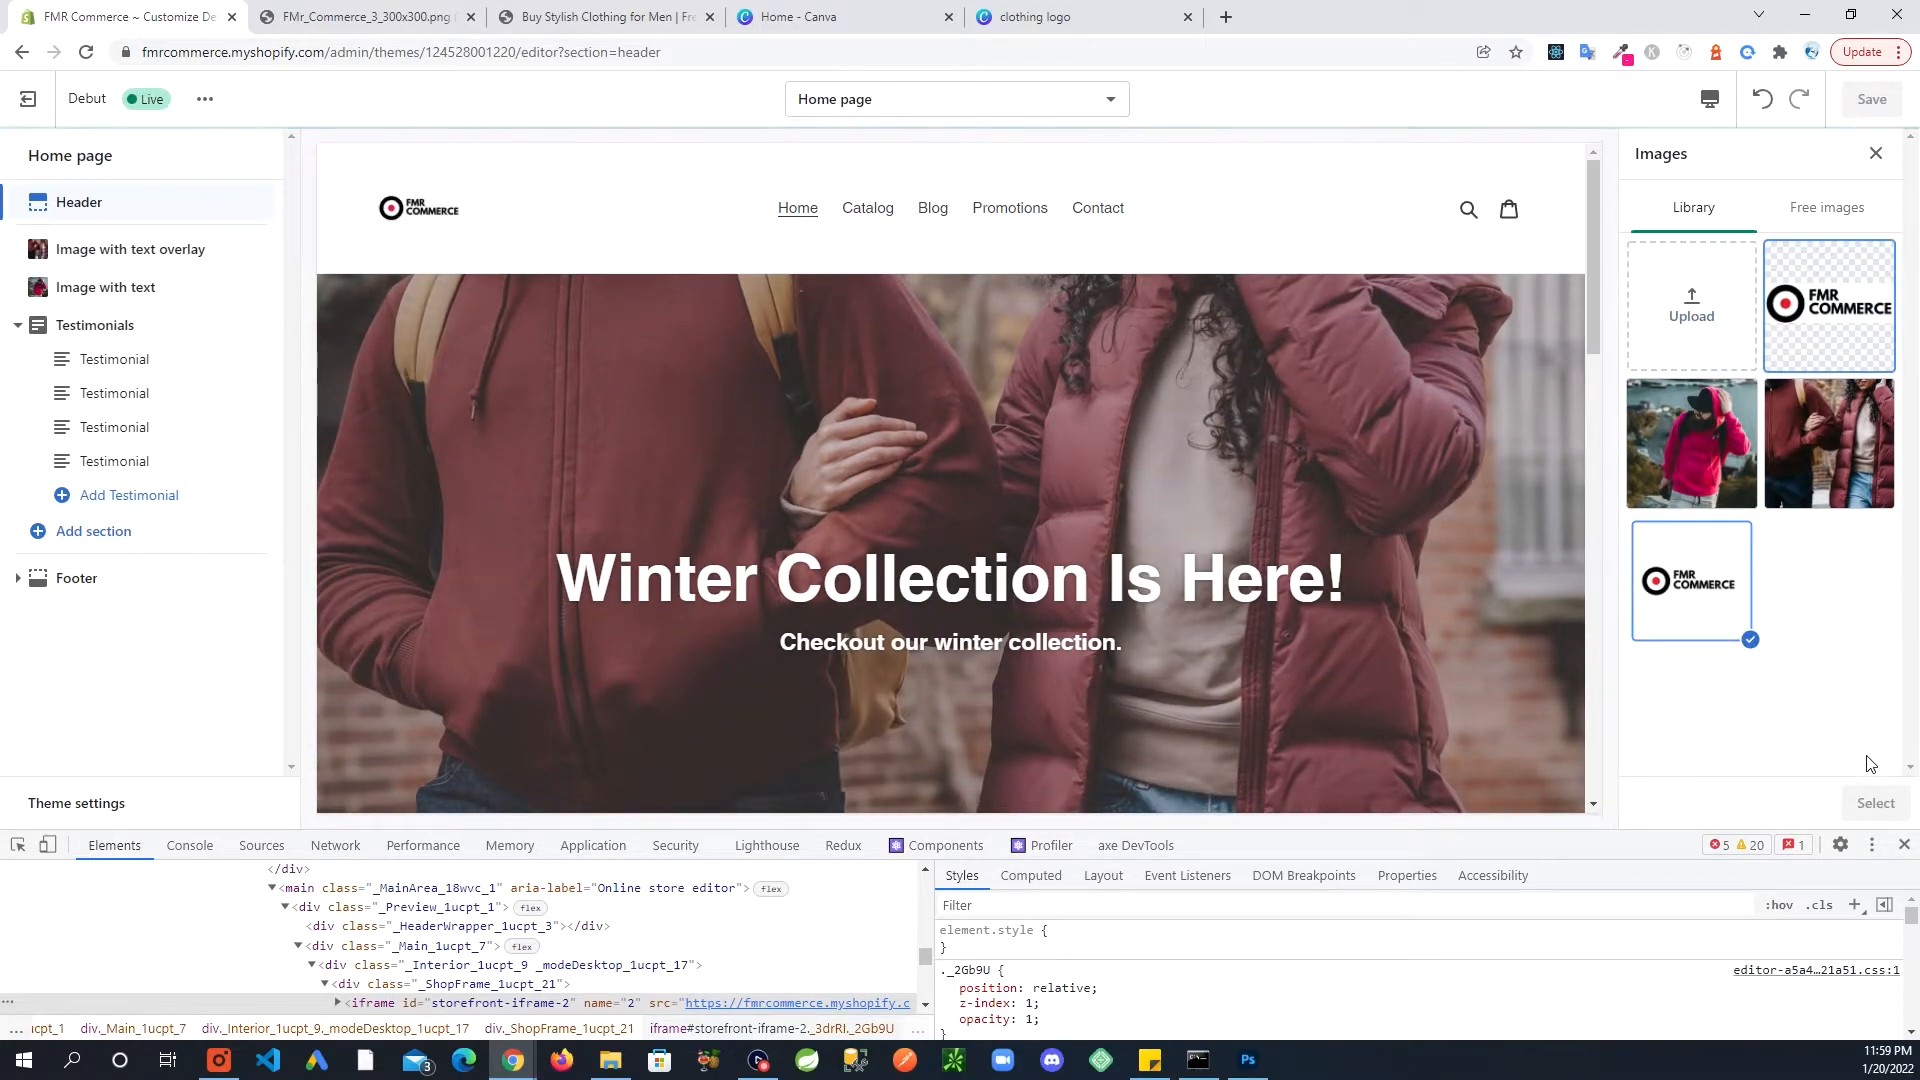
Now that you have a cropped version of your logo, go back to the theme customization and replace the old logo with the newly cropped one.
- Go to the “Header” section
- Click “Change” next to the logo image
- Upload the cropped logo
- Save the changes

Step 5: Adjust the Width Again
With the new, cropped logo uploaded, you can now adjust the width without worrying about extra space. Use the width adjustment bar to set the logo to your desired size.
- Go to the “Header” section
- Adjust the width bar
- Save the changes
You should now have a perfectly sized logo without any unnecessary space around it. If you need more space on the top or bottom, you can crop the logo less tightly.
Step 6: Handling Different Logo Orientations
Not all logos are horizontally oriented. If you have a taller, vertically oriented logo, the process is similar but may require additional adjustments.

- Open the taller logo image
- Crop it to remove excess space
- Upload the cropped image
- Adjust the width
By following these steps, you can ensure your logo looks sharp and professional, regardless of its orientation.
Conclusion
Fixing the logo size in your Shopify store’s Theme is straightforward with the right steps. By accessing the theme customization, cropping the logo image, and adjusting the width, you can achieve a polished look for your store. Remember, a well-sized logo contributes significantly to the overall aesthetics of your online store.
